
Trail cameras absolutely do you no good sitting in a box or on your shelf at home. They must be out in the field in order to capture pictures of game in the woods. Many people put out trail cameras in early August and only keep them out in the field until the end of hunting season. Many people do not believe me when I tell them that in a conversation with Lee Lakoski, he told me that January was the most important time of the year to have trail cameras in the field. I agree 100% with Lee. This is when you find out if the bucks you have on your property have made it through the season and will be a fixture in your hunting for the next year.
I have long had a love-hate relationship with trail cameras. I have spent the last several years trying to learn everything I can about trail cameras so that my relationship would be one of symbiotic happiness. Of course, I still have moments of absolute frustration with cameras, mostly because I test out several new cameras each year and each one has its own quirks to learn. My hope is that my experience with trail cameras allows me to share some tips to help your use of trail cams easier regardless of which one you use.
Choose Trial Cam Speed and Quality
When you select a camera, purchase one with as fast a trigger speed as you can find along with the highest quality photos you can get. Cameras are only as good as their trigger speed and quality. Great cameras are not found in the bargain bin at your local five and dime store; great cameras are an investment. Quality high-volume SD cards can make or break your day in the field. It’s best to have two cards for each camera as this makes swapping out the cards much easier.
Swapping Out Trail Cam Cards
I carry with me into the field an SD Card wallet. For every camera we use, we purchase two 16 gig cards. We label them the same as each camera with an A or B for each card so that we can keep them all separate. Every camera we have is numbered and we use an aerial map to plot each of our cameras.
Checking Trail Cameras
We suggest checking trail cameras every 3 weeks and no more than every two weeks. Anything more than that may alert the deer and game to your presence. This might push game out of the area in which you are working so hard to capture on film. We understand that game cameras are absolutely addicting: it is exciting to look through your photos and find that one great picture. As addicting as checking these photos can be, we can only caution that doing so will harm your hunting in that area if you do it too frequently. The less time you spend in areas you intend to hunt, the better the hunting will be.
Location • Location • Location
When hunting, I follow a simple philosophy: “There is more space where they isn’t than space where they is!” This statement is just as true when hunting as it is when putting out trail cameras. If you place your cameras in locations where there are no deer you will not get many photos of deer. Every farm and every tract is slightly different. It requires woodsmanship and education to learn how best to set your cameras in order to be successful.
- Trails – Trails allow you to see where and when deer are moving between food, water and bedding sources. This is where fast trigger speeds on game cameras earn their weight.
- Food Plots – Food plots allow you to see how many deer, which deer and when deer are entering the field. The only important times that deer are in the food plots are when it is daylight and cameras that have time-lapse photography are what are important in these locations.
- Feeders and Minerals – Cameras over feeders or minerals provide the opportunity to see the majority of deer on each farm and tract.
- Watering Holes – During the summer, water holes provide a tremendous opportunity to see game.
Timing
Honestly, I like to keep trail cams out year round. There are times when the action on trail cams is pretty minimal, but those times can provide some pretty great shots and can give me a history of the deer that I see on each farm. January provides the most important action on my cameras because this is when I see which deer have made it through the season. This helps me begin to plan for the next season. In February and March, I track the numbers of deer as well as the occasional predator and the local turkey population. By June we start to hone in on specific deer and work to move cameras to track those specific deer with a plan.
Scent Control
In hunting whitetail, we focus on scent control when we are hunting. If you want to be successful with trail camera capture, I highly recommend paying attention to your scent control when you check your cameras. We use a set of rubber dish gloves when checking trail cameras as well as rubber boots to get in and out of trail camera location quickly and as scent free as possible. We hunt mostly farm and cattle properties so if we are checking cameras rubber boots, stepping in the occasional cow patty and walking into camera locations seems to work for us. Getting in and out of locations quickly and quietly makes a big difference. Of course, if you can afford a wireless trail camera, you can check trail cameras without disturbing the property you are trying to hunt.
Think about Security
You wouldn’t walk away from your truck for three weeks without locking the doors on your truck, would you? The same should be true of game cameras. Spend the time to get lock boxes and security cables. If a thief really wants your camera, they will have to cut down the tree in order to get it but at least make them work for it. If you put out trail cameras in areas where bears are present, you will want a secure lock box for your game camera. Cameras are an investment and protecting them is important even if you leave your cameras on private land.
Placing Trail Cameras
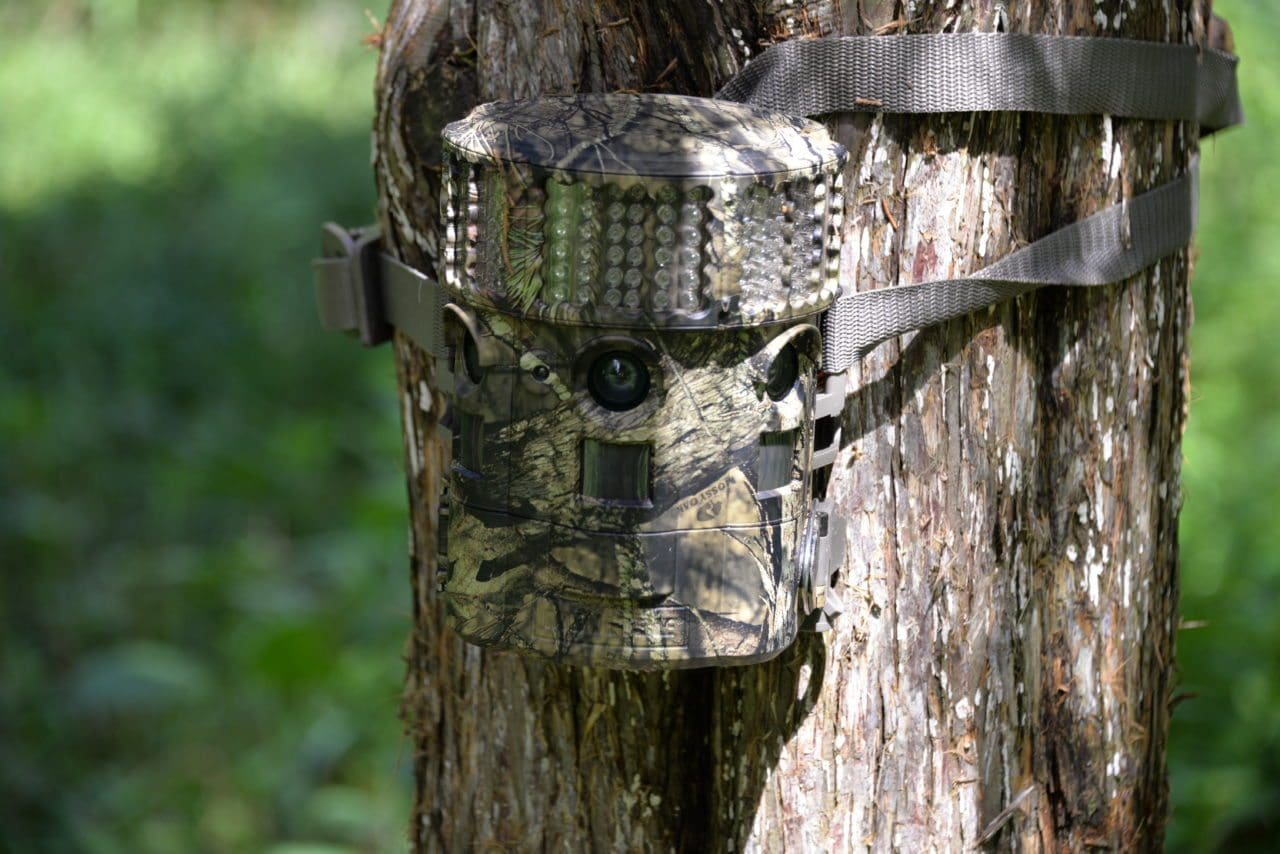
We recommend placing cameras as high as you can get them in a tree and looking down on a 5 to 10 yard field of view. Placing the cameras high and aimed down does two things for you. It keeps the cameras out of the sun and aimed at the ground. Sunshine beating into the lens of the camera is not good for the optics of your camera and provides poorly lit photos. As well, all cameras provide some kind of flash that alerts deer. Even the new no-glow cameras and infrared cameras deer are often caught looking at let us know that they recognize something is not natural. Placing the cameras high gives you a good look at the rack of the deer and keeps the cameras out of the view path of deer and thieves.
Manage Your Trail Cam Photos
With our collection of cameras, we look through thousands of photos a year. Having one place where we download all of our photos and work together to uncover patterns allows us to make informed decisions about how best to place our cameras and how best to hunt specific properties. We use DeerLab to manage our photos. Everyone in our group can log in and see every photo we capture.
Trail cameras are great tools and can keep you outdoors year round keeping tabs on your deer herd. If you have trail camera tips that you would like to suggest, please add them into the comments and share your thoughts on Facebook.