Trail cameras have become an invaluable tool in a hunter’s arsenal. The technology behind trail cameras has vastly improved over the years, with better motion detection, undetectable flash, and the ability to view photos remotely, without the need of disturbing your hunting areas.
Here are some tips and tactics to ensure you get the best information on the deer populations and their movements in the area you hunt.
Get The Right Trail Camera
The trail camera you use is much less important than how it’s used, but getting a quality trail camera pays dividends. To get decent photos, you want a camera with a fast trigger, a long motion detection range and high megapixel count. To minimize your footprint, you want a low-glow or no-glow flash and a long battery life to reduce the need of making visits to swap out batteries.
You can also consider getting a cellular trail camera, which has the huge benefit of not requiring you to walk over to the camera to see what photos have been taken. Be warned though, these cost a lot more, and the difference will quickly add up if you’re building a large network of cameras.
Choosing the right spots
If you’re not familiar with the land you choose to hunt, or you’re faced with vast tracts of public land, scouting the areas beforehand on Google Earth to determine possible locations for your trail cameras is a good way to start. Even if you’re familiar with the areas you hunt and scout using trail cameras, consider your options carefully.
Heavily traveled deer and game trails are one of the most obvious places to set your trail cameras, especially ones that go directly from bedding areas to food sources like farm fields. Other great location ideas may be directly on food sources such as food plots or fields, though the larger the feeding area the harder it will be to ensure you capture any deer feeding in the area.
Choke points–like corridors between ridges or any sort of natural funnel that forces animals to travel through–are also great options.
Bedding areas may seem like a good idea to a novice hunter or someone trying out trail cameras for the first time, but we strongly suggest not doing this, as entering bedding areas to change batteries or swap SD cards will do more harm than good by disturbing these areas where game seek refuge.
There are many other types of ideal places that you can place your trail cameras. These places include water sources like small ponds (the more isolated the water source the better). For elk hunters this one will be fairly obvious, but here it goes anyways, wallows that are frequented by elk during the warmer months.
Complete The Setup Checklist
There are actually quite a few things to take into consideration when setting up your trail cameras on the field. Here’s a checklist of things that can help you once you’ve settled on the locations you’ll be mounting them.
- Test your cameras before you leave home. Get everything set and ready, SD cards, batteries, settings, mounting system (bungee cords etc.) and test the camera by walking in front of them.
- Avoid obstructions. Obstructions like branches and leaves near your camera will trigger your trail camera when wind moves them, and they could also block the flash during nighttime.
- Check the camera angle. After setting up your trail camera in the field, be sure to take some test shots of yourself walking where you expect the game to be. Look at what you end up with and adjust accordingly. You don’t want to come back to pictures of nothing but legs or the tips of antlers!
- Optimize your distance. As a general rule of thumb you want the game to be within 10 to 15 yards of your camera prior to capture. This isn’t a hard rule, and can depend on the situation, but distancing considerations should always be in the back of your mind.
- Avoid sun glare. Depending on the area, it is often best to point your camera either north or south to avoid the camera lens getting blinded by a rising or setting sun. Note that this might not be critical if your camera is in an area with dense tree cover or foliage.
- Make sure your mounting is solid. Curious cows, raccoons, deer, and other critters might investigate or bump your camera around, so make sure it’s as tight and secure as possible! Bears like to mess with cameras, so if a bear gets ahold of it, you might find it on the other end of the property with a bunch of bear selfies!
No Animals? Be Patient And Adjust Accordingly
If you’re not getting much in terms of activity in front of your cameras it might not be because they aren’t around. Trail camera locations and animal locations can take a little while to dial in. Try moving your camera to a different location, or keep it in the same location and face it in a different direction. You might be surprised to see that animals have been traveling near your camera all along, just not in front of it.
Night Pics Are Useful, Too
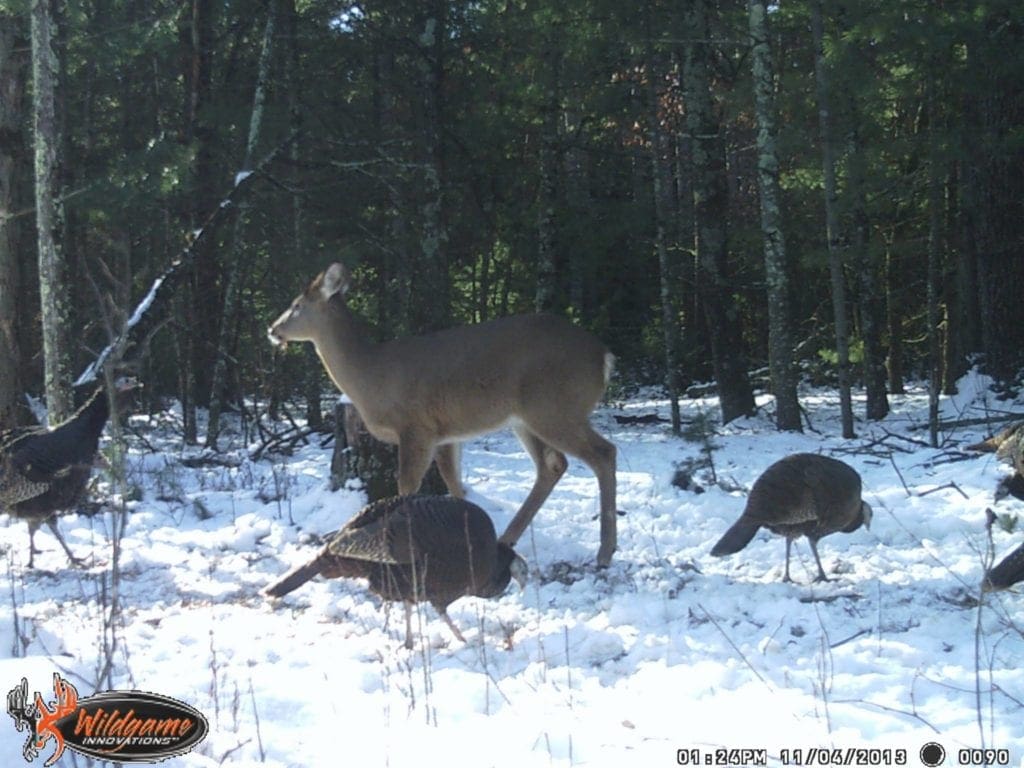
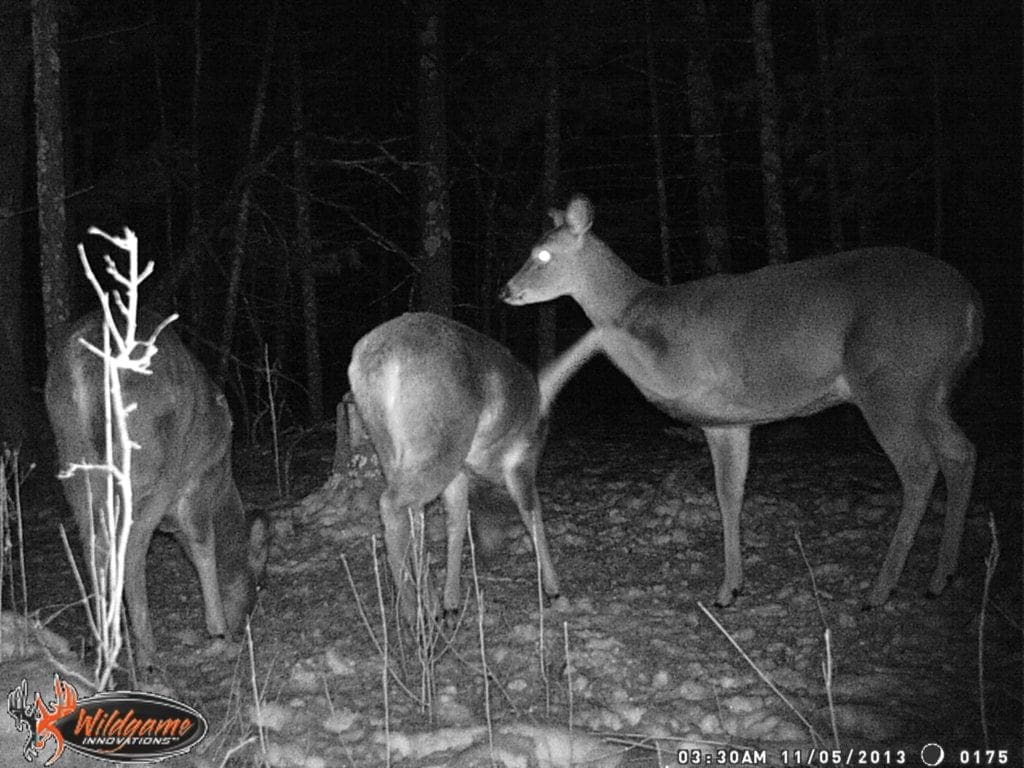
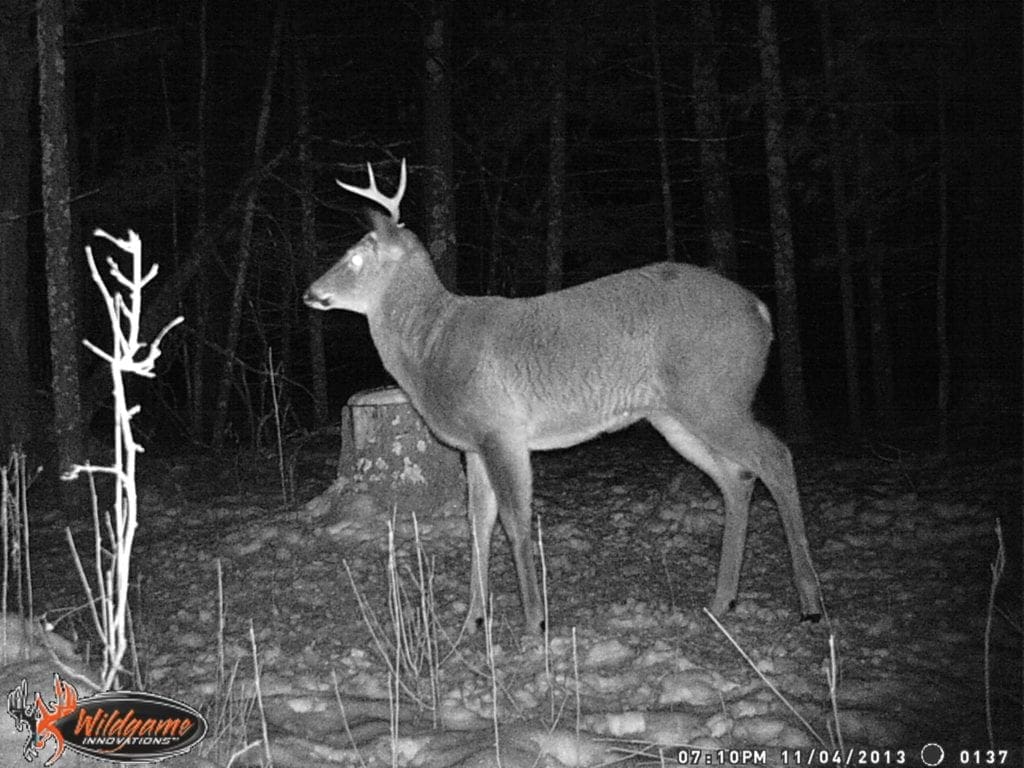
Only getting animals such as whitetail deer on camera at night is fairly typical due to them being nocturnal by nature. This can also be because your setups are far from bedding areas and closer to food sources. Deer feed and travel mostly at night and are especially prone to feeding in open areas after dark.
It’s easy to be frustrated if you’re only getting pics taken at night, but they’re useful too. The more intel you have, the better. You can also draw conclusions from the images, like whether or not you’re in their core area, by considering the frequency of appearances and cross-referencing data from other cameras.
During the Pre Rut and Rut phases expect your luck to improve as bucks start roaming and chasing does in the daylight hours, as well as later in the season when temperatures drop and daylight hours decrease, forcing them to eat and move to stay warm.
Stay out of the woods!
When you get your trail cameras all set up in the woods you are wanting to hunt it’s important to keep one thing in mind: Stay out of the woods!
You may be tempted to check your new scouting tools on a frequent basis, but this is going to be detrimental to your hunting cause. The more you make your presence known via scent, noise, or sight, the more you will chase game out of your areas.
Try to check your trail cameras no more than once a week in hunting season, and longer if possible. In fact, you should really only be checking them if you need new information or just happen to be passing by the area.
Conclusion
These tips and tricks will help you in your pursuit at studying the population and habits of deer and other game in your area. Be sure to take these considerations on board to get the most out of your trail camera, and most importantly be sure to stay out of these areas as much as possible to keep your presence to a minimum. Happy hunting!