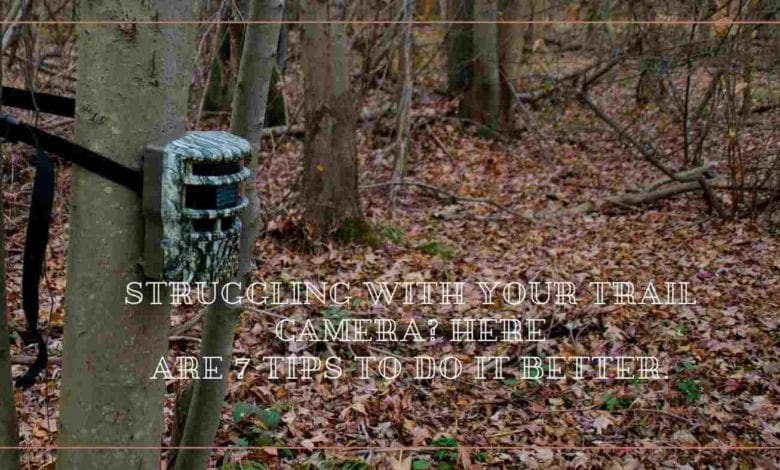
Struggling with your trail camera? Here are 7 tips to do it better.

You’re passionate about hunting and you know what that means: Any advantage you can get matters. You’re all about results and we’re here today with seven simple, straightforward and effective tips on how to use your trail camera smarter and more effectively. Let’s go.
Tip one: Keep it discreet
Overuse will kill results. We get how it is; you’ve got one of those popular trail cams and you’re excited to see how it handles. The problem? Intruding into your area won’t help. Whether field edge or wooded area, animals will perceive the signs of human footfall.
For best results, place your camera in a transitional area that you can easily visit and leave without risking detection. Try to avoid leaving your odour on the camera and consider investing in a scent-blocking spray.
Tip two: Go for a higher mount
It’s easy to see whether a deer has noticed the flash of a camera in pictures taken of it. The key here is to appreciate that most animals have a general sight plane they’ll scan across. By mounting your trail camera higher than usual and above that plane, you’ll get better results by limiting the odds of your prey noticing your kit.
Tip three: Use bedding areas
Simple, but effective. Setting up a bedding area near a food source will make animals – particularly bucks – more likely to visit. Better yet, it can encourage them to visit before or after dusk. That’s a real benefit when hunting season comes around and a general boon to anyone aiming for simple photography.
Tip four: Mount that camera farther off
This is particularly helpful if you’re using a budget camera; cheaper equipment is generally slower at powering up and going through the focus and recording process. For best results, put your camera farther back from the trail it’s focused on so it can cover a wider arc.
Tip five: Be smart about theft
Theft of trail cameras is no laughing matter. We’re talking equipment that costs hundreds of Pounds and the loss can be devastating. A simple and novel way to get around this is to place a sign or message on your camera stating ‘no trespassing’. You can even put a logo on it stating the area is being monitored for theft. It isn’t true, but thieves don’t know that – and that means they’ll avoid stealing your kit.
Tip six: Go where they go
Think carefully about where your desired animals are going to be feeding. What’s common, and does the current season change that? For best results you’ll probably want to set your trail camera up around 40 yards away from the spots they’ll be moving through, although this number will vary depending on your gear and how you configure it.
Tip seven: Keep it tight
Bracing and strapping your trail camera is important. Ask any experienced hunter or wildlife photographer: there’s no worse feeling than checking your gear to find a hundred pictures of the ground or the sky! Whether from weather or passing animals, you need to secure your gear firmly so it stays on focus.
