SUUNTO Compass Review
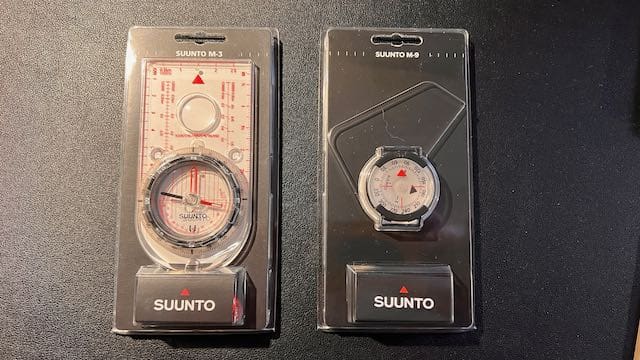
We stopped by the SUUNTO booth this past month at SHOT SHOW and most folks are super interested in getting to see the amazing GPS and fitness watches from SUUNTO. Those watches are without question some of the best in the world, but first we had to geek out over the compasses. As a hunter who likes to get off the grid, one of the most important parts of our kit is an actual map of the area where we are hunting and a proper baseplate compass. If you spend a little bit of time and learn to use a proper baseplate compass you can get yourself out of any location quickly and easily and to the exact location you are looking to go.
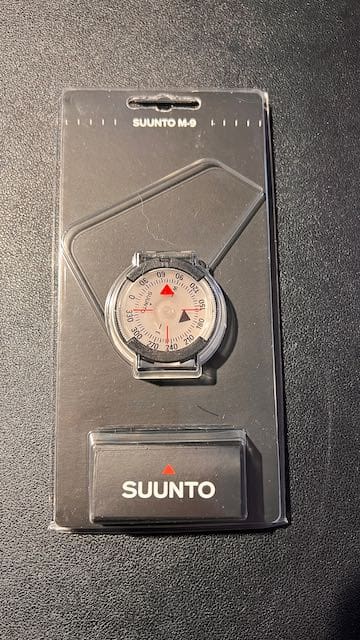
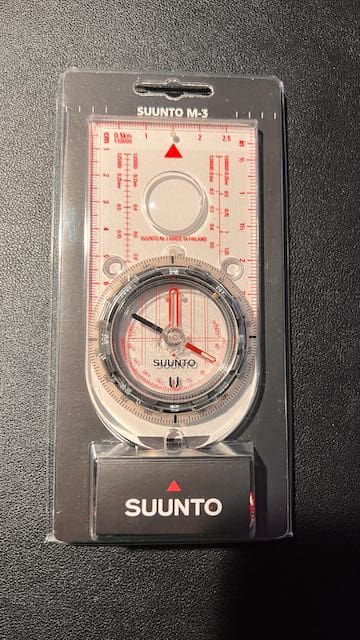
We asked for the opportunity to test the SUUNTO M-3 Baseplate Compass as well as the SUUNTO M-9 sighting compass for your wrist. One compass for reading maps and one for consistent use on the wrist to keep you moving in the right direction. Understanding how to use these compasses can keep you alive.
SUUNTO M-3 NH Baseplate Compass
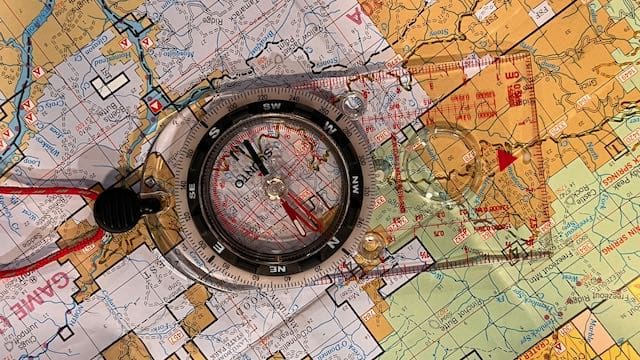
The Suunto M-3 Compass has a declination adjustment for easy and accurate compass readings. It also has a luminous bezel ring for easy and precise navigation in low light conditions, and a balanced magnetic needle for a faster and more precise reading. Utilizing the compass with a map allows you to orient your way from one location to another quickly and no matter what you throw at this compass it is going to handle it because it waterproof, shockproof and weatherproof.
With a Baseplate compass, you can orient your map by lining up the north arrow on your compass with the north direction on your map. This will help you identify landmarks on the map and understand which direction you are facing and the direction you are going. Knowing the angle between true north and magnetic north (magnetic declination) is also important to ensure that you adjust your compass readings correctly.
The M-3 comes with a comprehensive user manual providing all of the information you need to learn how to use your compass. Reliable readings, a durable solid construction and a five-year warranty makes this a great choice.
- High grade steel needle with jewel bearing
- Balanced for northern hemisphere
- Adjustable declination correction
- Liquid filled capsule for stable operation
- Luminescent markings for working in low light
- Magnifying lens on transparent baseplate for easy use with map
- Metric and Imperial scales
- Baseplate with magnifying lens
- Detachable snap-lock lanyard with wristlock.
- Easy to detach for working with the map
- SUUNTO limited lifetime warranty
- Made in Finland
How to Use a Baseplate Compass
Using a baseplate compass is a great way to get your bearings in the outdoors and the basics of how to use one are quite simple. Whether you’re planning a camping or hiking trip, or just out for a leisurely stroll, knowing how to use a baseplate compass can come in handy and make navigating a breeze.
To begin, you must understand the parts of the compass. A baseplate compass has four main parts: the baseplate, the direction of travel arrow, the orienting arrow, and the bezel. It is important to familiarize yourself with each of these components and the way in which they work together to help you find your way.
Declination is another important concept to understand when using a baseplate compass. Declination is the difference between true north and magnetic north. This is important because your compass is designed to point to magnetic north, not true north. Depending on where you are, the declination can vary, so it is important to consult a map or online resource in order to determine the declination in the area you plan to use the compass.
Once you are familiar with the components of the compass and the declination in the area, you can begin to use the baseplate compass. To do this, hold the compass in your hand so the direction of travel arrow is pointing away from you. Then, turn the bezel until the orienting arrow lines up with the north/south lines on the map. Next, pick a landmark on the horizon and line up the direction of travel arrow with it. Finally, turn the bezel until the orienting arrow is lined up with the north/south lines on the map. This will ensure that the direction of travel arrow is pointing in the direction you want to go.
By following these steps, you can now use a baseplate compass with confidence. With just a little bit of practice, you will be able to navigate your way through any terrain with ease!
SUUNTO M-9 Wrist Compass with Velcro Strap
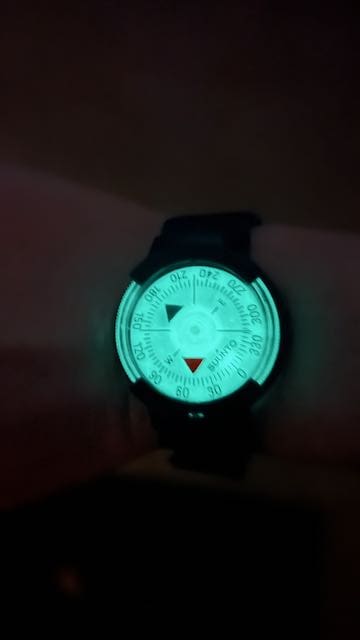
The SUUNTO M-9 wrist compass is a sighting compass that you can wear on your wrist and it has a long enough velcro strap to wear over you jacket sleeve so no matter what the weather you can quickly and easily see the compass. As well, it glows in the dark should you need that feature. The M-9 is a great compass to work with and it makes a great gift. I like this compass for when I am working with young hunters. I play guessing games with them to motivate them to consistently check the compass and begin to learn the directions we are headed. The more you wear you this compass and work with it, the quicker you will be able to use it when you need it in a tense situation.
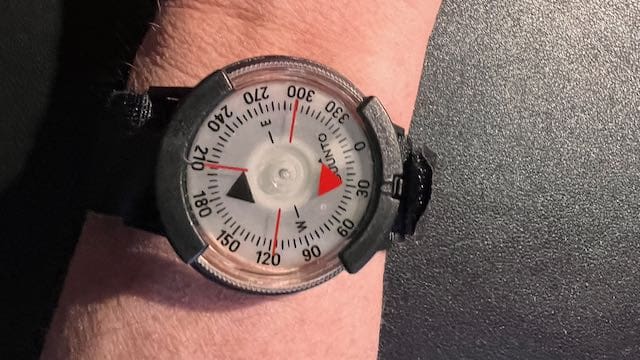
· Made in Finland
· Balanced for northern hemisphere
· Wrist compass
· Jewel bearing
· Luminescent compass card
· Side-reading window for taking bearings
· Ratchet mechanism to set desired direction
· Velcro strap included
· SUUNTO limited lifetime warranty
How to Use a Sighting Compass
A sighting compass is a navigational tool used by hikers, hunters, and other outdoorsmen to accurately measure directions and distances. It is an essential piece of equipment for anyone planning a long or complicated journey, as it can help you find your way back to your starting point with ease. In this post, we’ll discuss how to use a sighting compass to get the most out of your outdoor adventure.
The most important thing to do when using a sighting compass is to orient it correctly. This means aligning the needle with the north arrow and the direction of travel to ensure that it is pointing in the right direction. To do this, start by holding the compass in your hand, then rotate it until the needle is pointing north. Next, point the direction of travel arrow in the direction you want to go and make sure that the needle is still pointing north.
Once you’ve oriented your compass, the next step is to take a bearing. This is a measurement of the direction your compass is pointing in and can help you determine the exact path you need to take. To do this, rotate the compass until the direction of travel arrow is pointing in the direction you want to go. Then, read the bearing on the bezel and make sure to note it for later use.
Finally, you need to follow the bearing you’ve taken to get where you’re going. To do this, orient your compass once more and rotate it until the bearing you took is aligned with the direction of travel arrow. Then, simply follow the arrow to reach your destination.
Using a sighting compass is a great way to ensure that you stay on the right track while out in the wilderness. With a bit of practice, you’ll soon be a pro at orienting, taking bearings, and following them to reach your destination. Happy trails!

